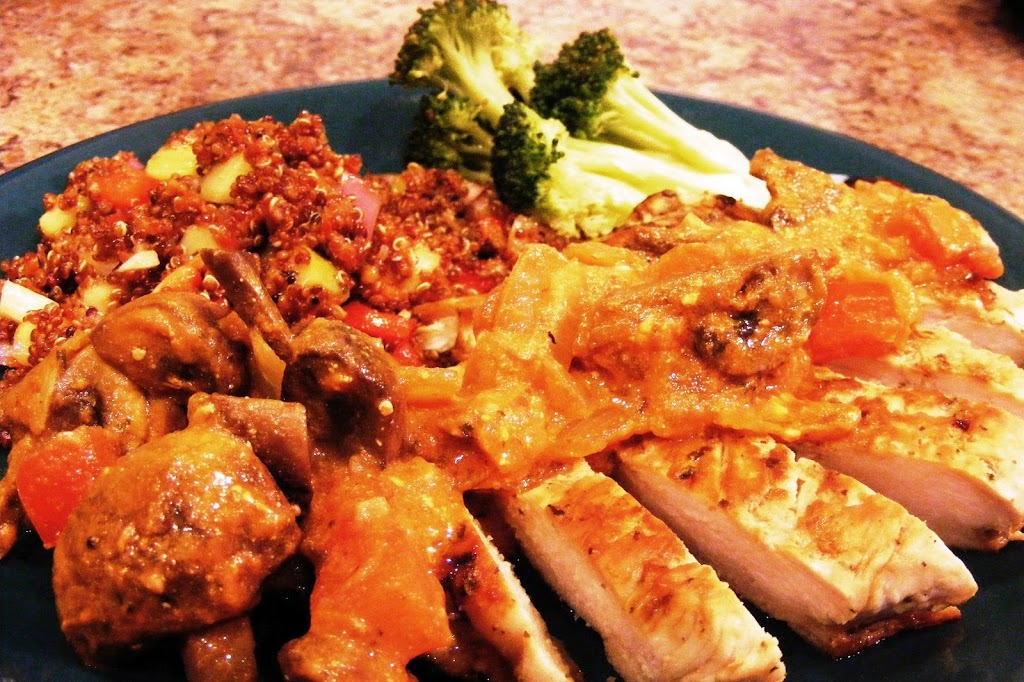
Oven Roasted Chicken Thighs
Serve 4
8 boneless, skinless chicken thighs
2 tablespoons olive oil
1/2 cup red onion, diced
3 garlic cloves
- Combine all ingredients in a Ziploc bag, seal and refrigerate for 2-4 hours, turning occasionally.
- Preheat oven to 400.
- Place chicken thighs in a shallow baking dish, uncovered, for 18-20 minutes, or until they begin to brown.
Nutritional Data:
Calories: 289
Fat: 18.3g
Sat fat: 4.2g
Chol: 99mg
Sodium: 93mg
Carbs: 2.6g
Fiber: 0.4g
Protein: 27.3g
Herbed Polenta
Serves 4
2 cups skim milk
2/3 cup dried polenta
1/4 cup feta cheese
1 teaspoon Italian or Greek herbs
- Prepare polenta according to label instructions.
- When it is finished cooking, stir in the feta and herb.
- Serve immediately, or spread it flat, 1/2 inch thick and let cool. Then, pan-fry in a bit of olive oil, flipping it over when the edges begin to brown.
Nutritional Data:
Calories: 158
Fat: 1.7g
Sat fat: 1.2g
Chol: 8.6mg
Sodium: 126mg
Carbs: 23.2g
Fiber: 2.1g
Protein: 6g
Creamy Cucumber-Olive Salad
Serves 4
2 cucumber, peeled and seeded, cut into 1/8 inch thick crescents.
9 Kalamata olives, sliced
4 banana peppers, cut into rings
3 ounces (by weight) Fage plain Greek yogurt
1 tablespoon lemon juice
1 teaspoon fresh lemon zest
Nutritional Data:
Calories: 69
Fat: 2.7g
Sat fat: 0g
Chol: 0mg
Sodium: 206mg
Carbs: 8.2g
Fiber: 3.6g
Protein: 3.9g